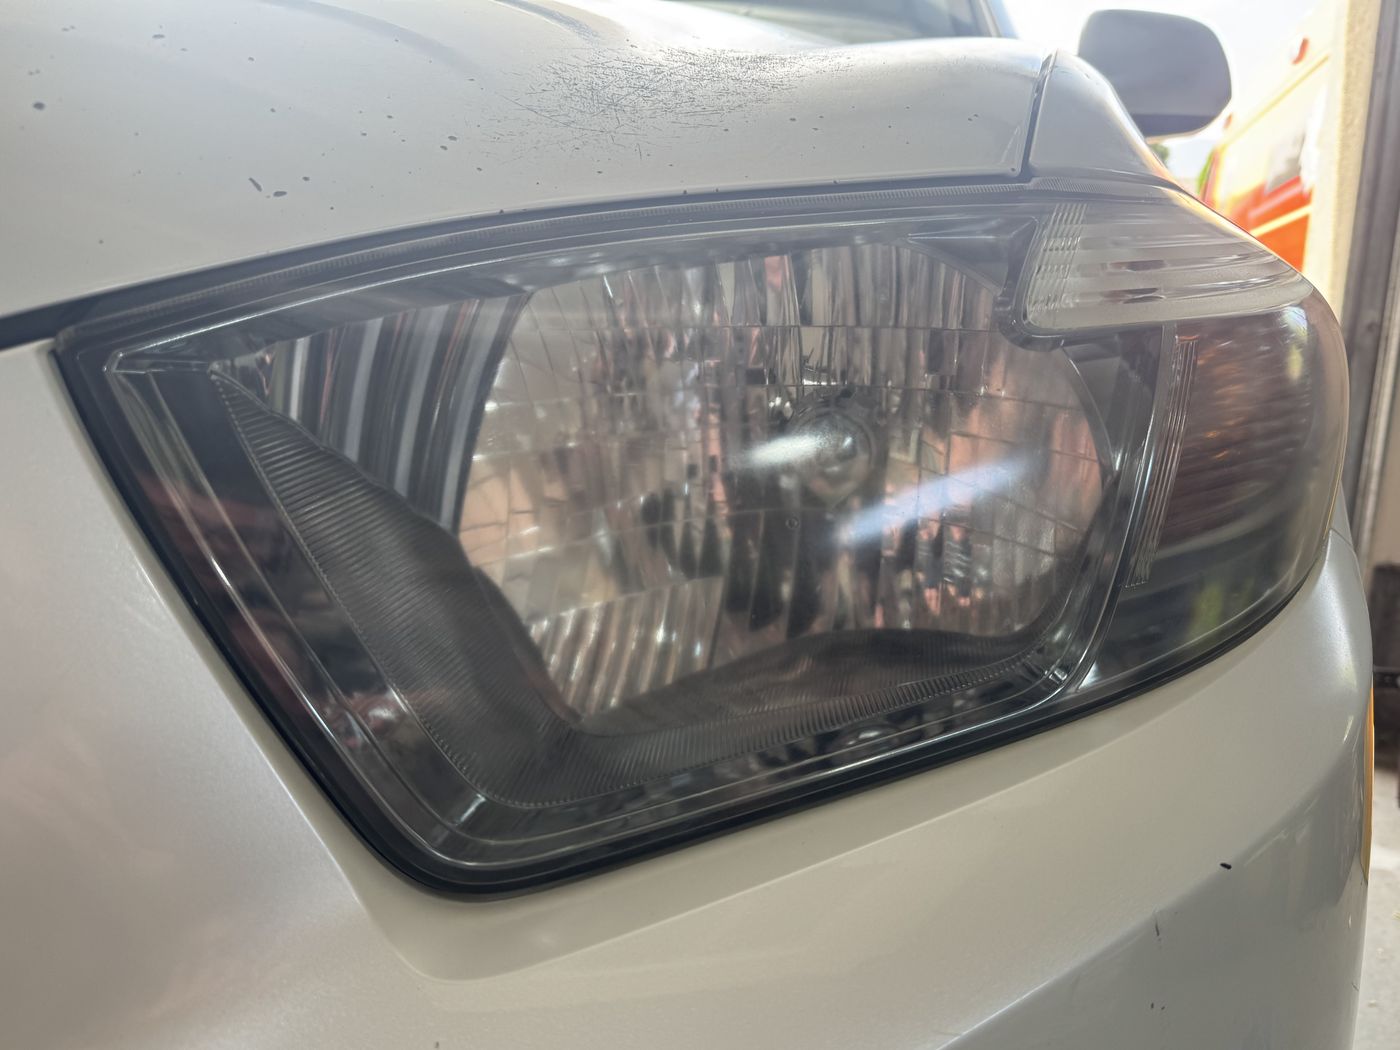
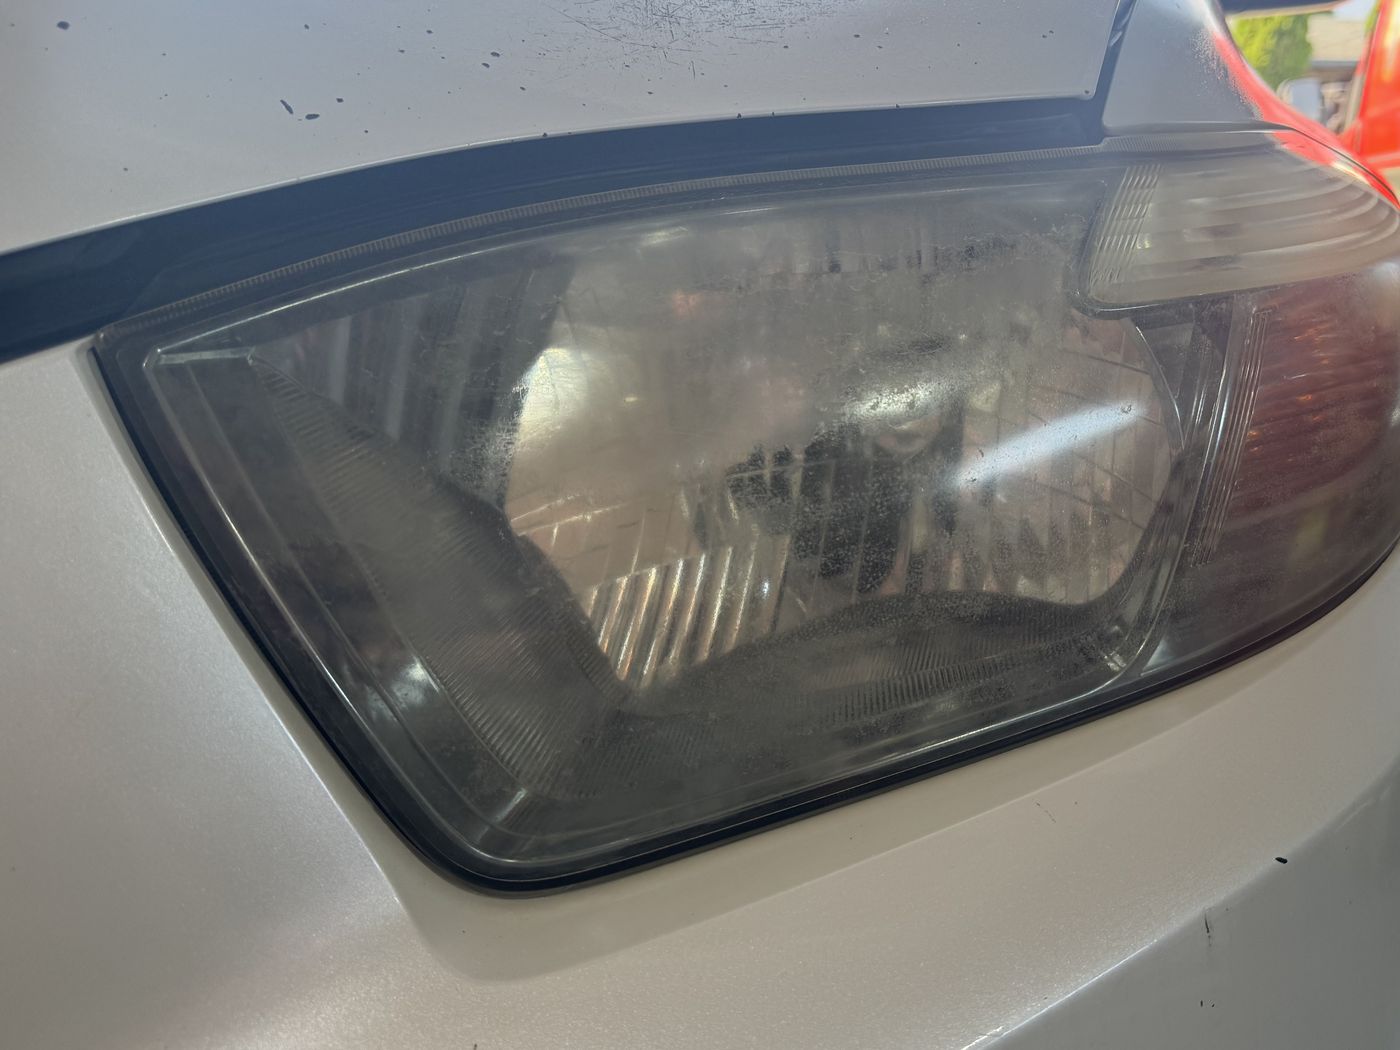
What actually happens to your lenses
Every job runs the same complete sequence — no steps skipped to save time.
Clean the lens
We wash and degrease the headlight so we're working the plastic itself — not road film, wax, or bug residue that would clog the sandpaper.
Mask & prep
Surrounding paint, trim, and seals are taped off so only the lens gets worked. This protects your vehicle from the abrasive steps.
Progressive wet sanding
Several grits of sandpaper, used wet, lift the dead oxidized layer evenly — each pass refines the surface left by the last.
Polish
A machine compound and polish remove the fine sanding marks and bring the lens back toward optical clarity.
UV protective coating
A protective UV coating is applied and cured. This is the step that helps slow the haze from coming back — and the one a quick buff skips.
Final inspection
We check clarity in daylight and against the headlight beam, clean up, and confirm you are happy before we pack up.
A few honest details
About an hour
A typical pair takes roughly an hour. Severe oxidation or extra vehicles can need more time — we'll flag it from your photos.
Weather matters
Suitable weather or a covered area may be needed. The vehicle should stay dry while the UV coating cures.
Honest scope
It's an exterior process — it won't fix internal moisture or cracked lenses. If restoration won't help, we'll tell you.